How I traveled from Switzerland to Seattle, learned about security, and had fun with fellow MVPs
Hello everyone, first: I’m not a travel blogger. Hovever, I’m excited to share with you my experience at the MVP Summit 2024, which took place in Seattle from March 11th to March 14th. It was an amazing opportunity to learn from Microsoft Product Group members, network with other MVPs and have some fun in the beautiful city of Seattle and surrounding. In this blog post, I’ll tell you how I traveled from Switzerland to Seattle, what I learned at the entire event, and how I enjoyed the fun part of the summit with some pictures.
Traveling from Switzerland to Seattle
I started my journey on Saturday, March 9th, from Zurich, where I boarded a flight to London. After a couple of hours hanging at the Terminal 5 at London Heathrow, I boarded a direct flight to Seattle. The flight was about 11 hours long, but I managed to get some sleep and watch some movies on the plane. I arrived in Seattle around 5pm and took a shuttle to the rental car area and drove to Bellevue to the hotel where I checked in and met some of the other MVPs who had arrived earlier. We decided to go for a drink and some dinner at Joe’s the very famous MVP bar down there.
Security Pre-Day
On Monday, March 11th, I attended the security pre-day at the Redmon campus, which was a full-day event dedicated to security topics, news to come and roadmap informations. I learned a lot from the discussions with the Product Groups, which covered topics such as Cloud security by Defender XDR, identity and access management, threat protection, and compliance. I also had the chance to interact with some of the Microsoft security experts and ask them questions about the latest security trends and challenges. I found the pre-day very informative and useful, as security is one of my main areas of interest and expertise as an MVP.
Summit Sessions
The summit sessions from Tuesday to Thursday were the highlight of the event for me, as they covered some of the most relevant and exciting topics for security professionals. I was especially interested in the sessions on MIcrosoft Defender XDR, Entra ID, Copilot for Security and Purview, which are some of the new and innovative solutions that Microsoft is offering to help customers protect their data and identities across different platforms and environments.
I also attended the keynote session, where I heard from some of the Microsoft leaders, such as Scott Guthrie, about the vision and direction of the company, and the latest innovations and trends in the industry with focus on AI. I also enjoyed the session from Mark Russinovich, who shared his top of mind content.
One of the highlights of the summit for me was meeting Alex Simons, the Corporate Vice President of Identity at Microsoft. He is one of the people that I admire and respect in the security field, and I was thrilled to have the opportunity to chat with him and ask him some questions. He also shared some of the upcoming features and improvements of Entra ID and as well on Active Directory, which I was very excited to hear about.

Another highlight of the summit for me was meeting Rob Lefferts, the Corporate Vice President of Threat Protection. He is another leader that I look up to and admire in the security field, and I was honored to have the chance to talk with him and other MVPs. He shared some of the challenges and opportunities that he faces in his role, and how he leads his team to deliver innovative and customer-centric solutions. He also gave us some sneak peeks of the upcoming features and enhancements of Defender XDR and Copilot for Security, which are some of the most advanced and comprehensive tools for threat detection and response.

Fun part
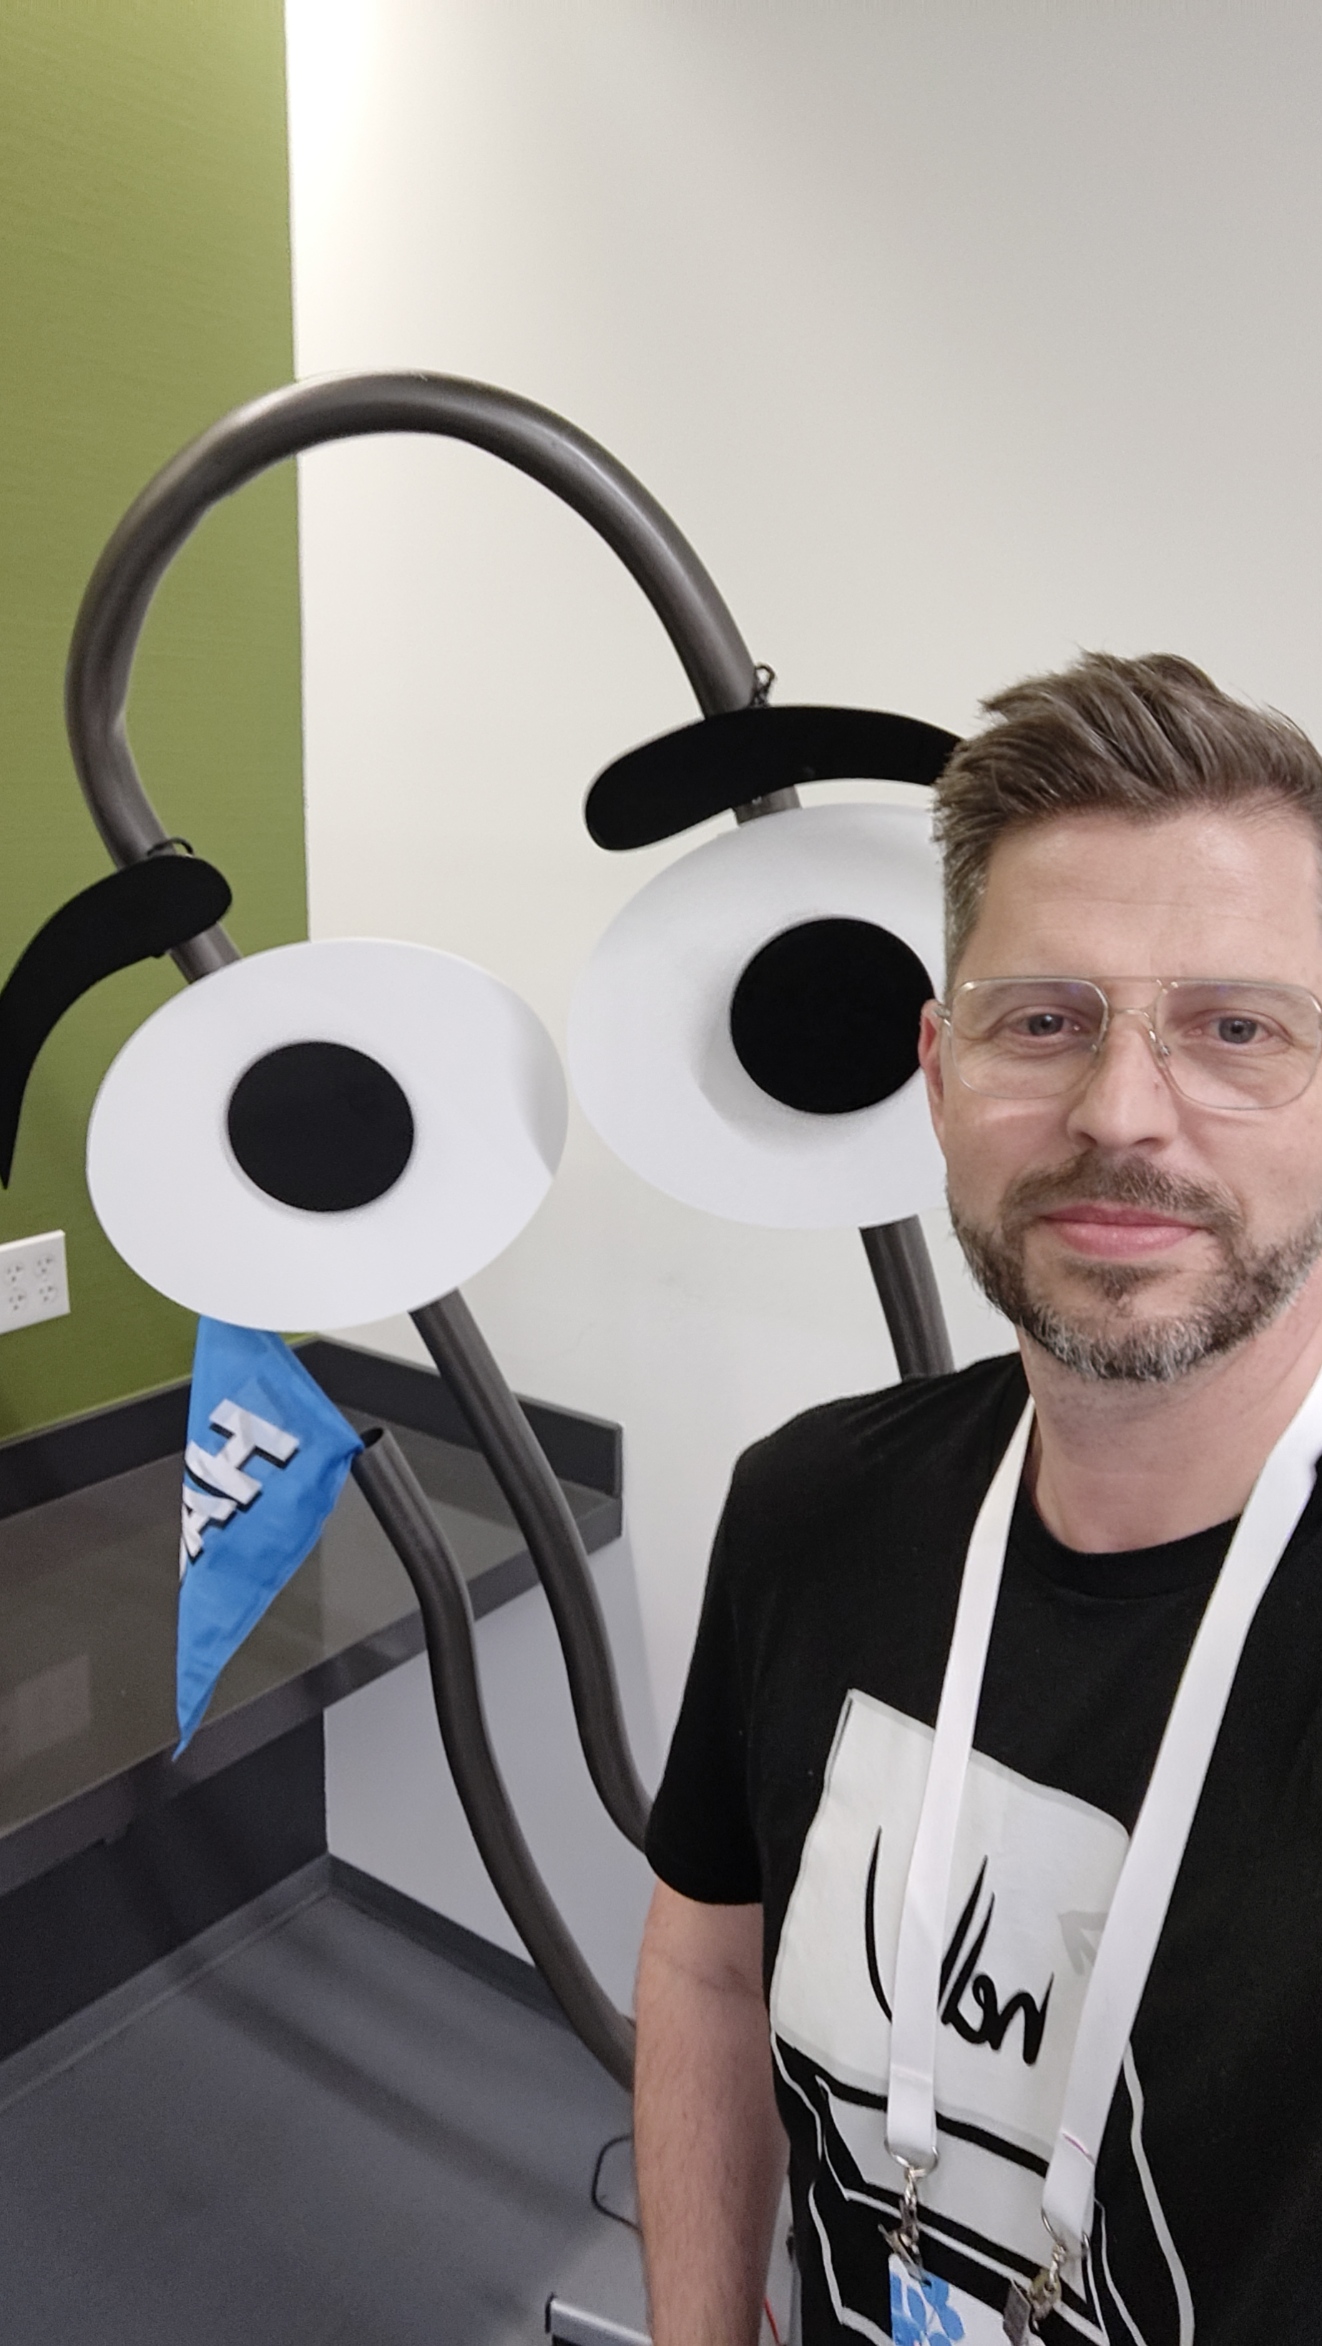
The fun part of the summit started already on Saturday when I met my fellows! I learned a lot from the speakers, who shared their insights and experiences on the latest technologies and solutions. I also had the opportunity to network with other MVPs from different regions and backgrounds, and exchange ideas and feedback. I made some new friends and contacts, and also met some of the MVPs that I had been following online for a long time.
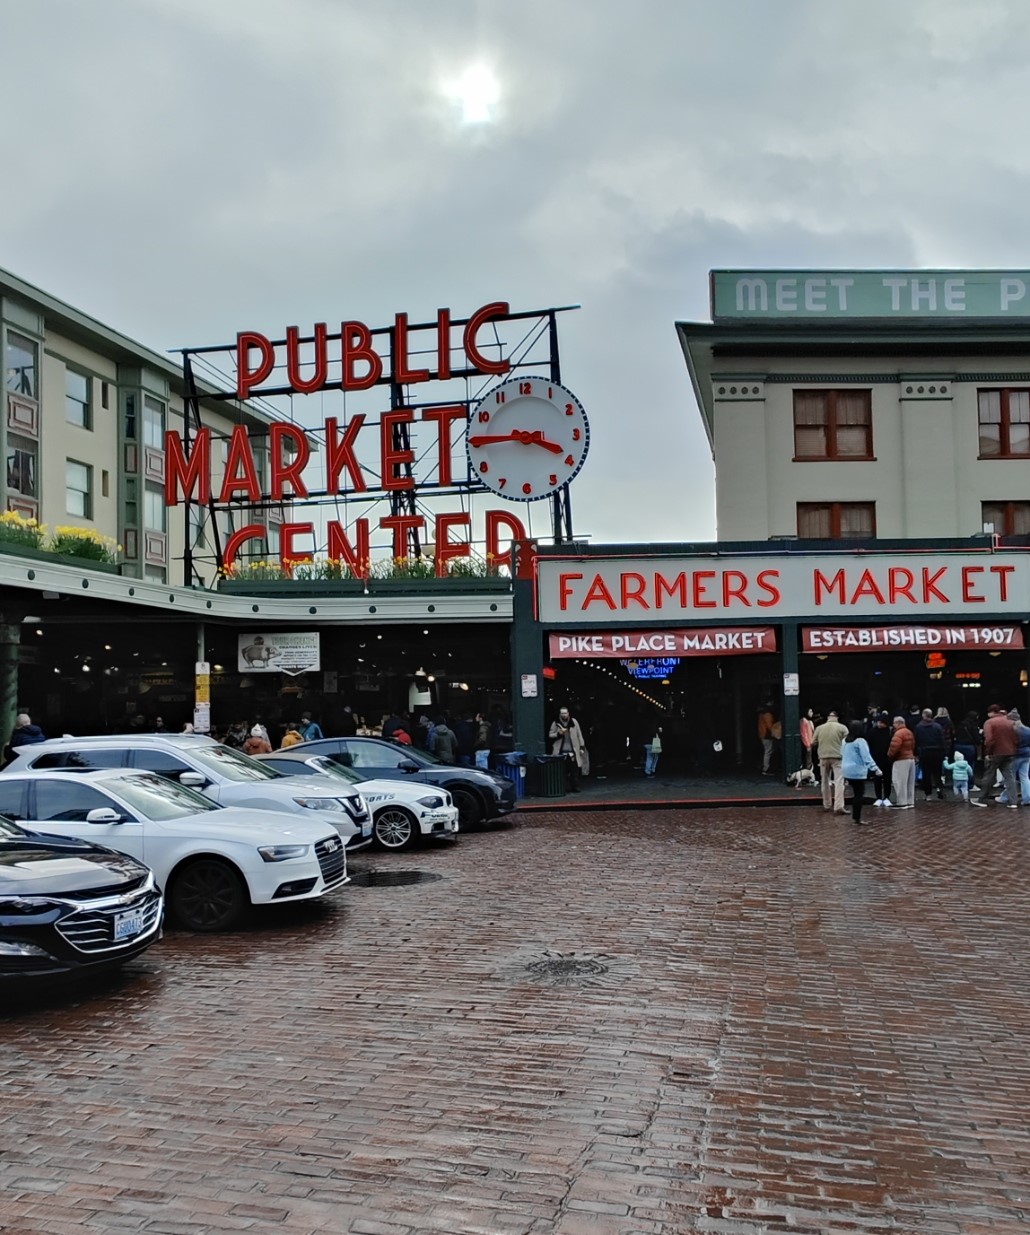
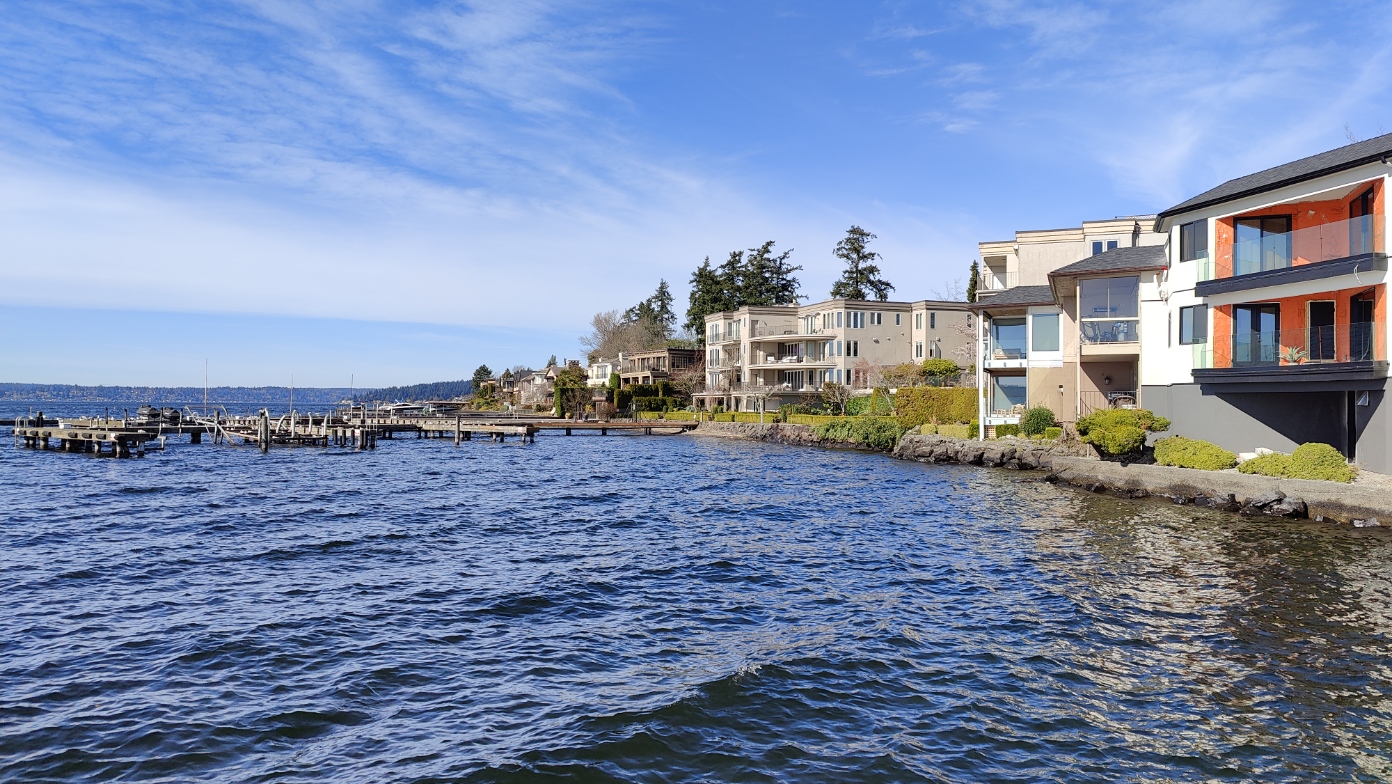
The fun part included some social events and activities, such as the security welcome reception, the Adaptiva and the Patch-my party. These were great occasions to relax, have fun, and enjoy some food and drinks with the MVP community. I also took some time to explore Seattle and visit some of the attractions. I took some pictures of these places, which you can see below.


I hope you enjoyed reading about my experience at the MVP Summit 2024. It was a memorable and rewarding experience, and I’m very grateful to Microsoft and the MVP program for making it possible. I learned a lot, met some amazing people, and had a lot of fun. I’m looking forward to the next summit, and I hope to see you there.